Creating Events on the Promoter App
1. Start Creating an Event
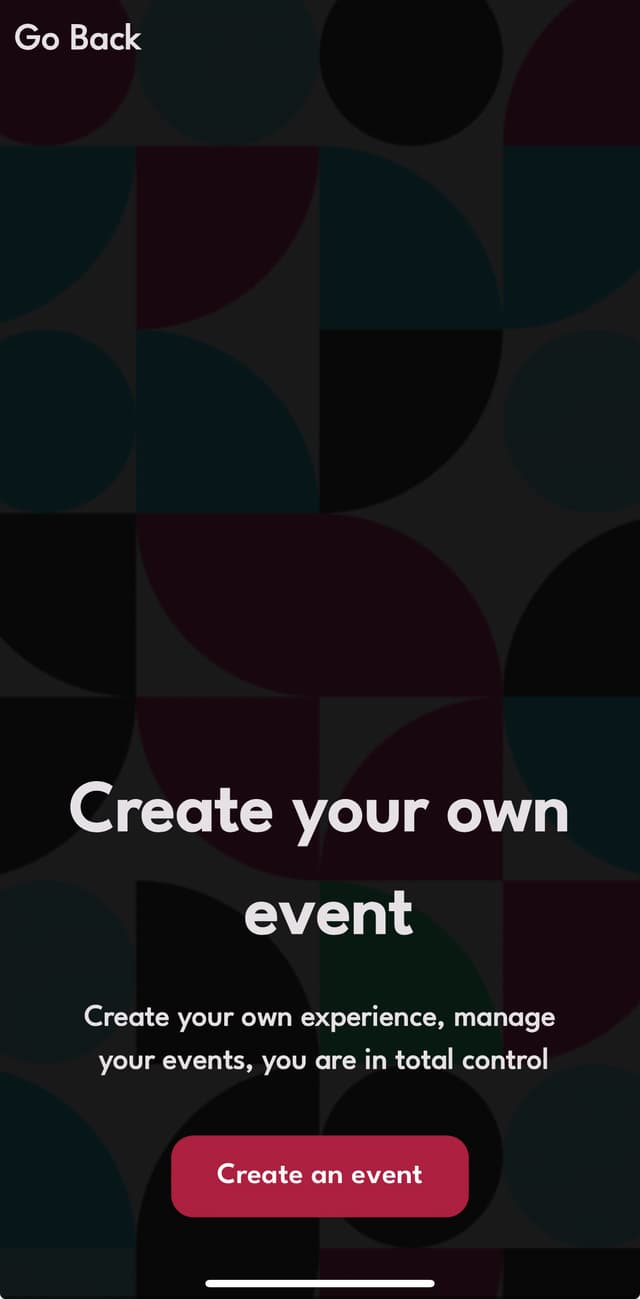
Navigate to the “Create Event” page by tapping the “Create your own event” button on the main page.
2 .Provide Event Details
Event Title & Description: Enter a distinct event title (up to 50 characters) and a brief description of what guests can expect (up to 200 characters).
Event Category: Choose a category that best describes your event (e.g., Music, Business).

3. Set Venue and Time
Venue/Location: Input the venue name and address for the event.
Event Start/End Time: Use the date and time selectors to set when the event will start and end.

4. Configure Event Settings
Age Restriction: Set an age restriction for the event (e.g., 18+ or 21+).
Ticket Type: Choose whether the event will require tickets or be free. If tickets are required, create and manage ticket details.

5. Upload Media
Flyer or Video: Upload an image or video to promote the event visually.

6. Finalize and Publish
Once all event details are filled in, tap “Continue” to review and publish your event.